
Jetson TK1 血泪开发记(一)——Jetson TK1初体验
日期: 2016-07-15 分类: 跨站数据测试 298次阅读
Jetson tk1初次开机使用,由于在购买的时候店家已经将系统升级到了21.4版本,所以免去刷机步骤了。
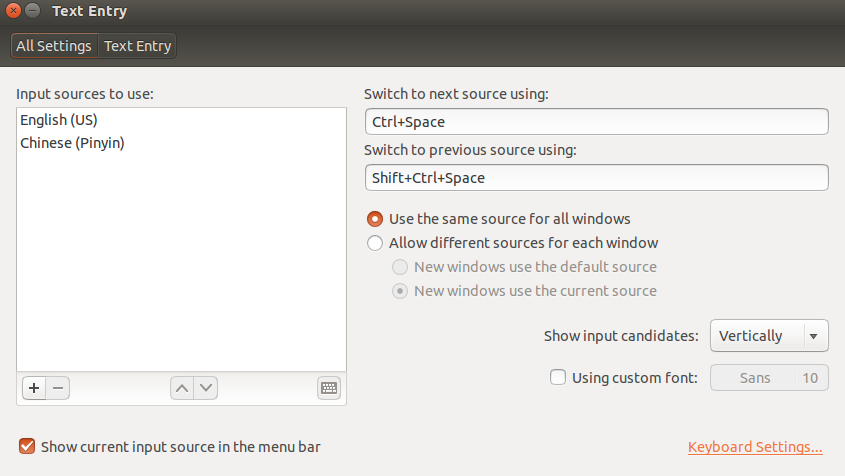
- 安装中文字体/输入法
找到右上角的输入法图标->Text Entry Setting,然后点+号进行添加输入法,找到Chinese(Pinyin)进行添加,然后看到switch to next source useing和switch to previous source using 这两项,这是切换输入法的快捷键设置,这个就凭各自爱好进行设置了。
- 锁定XORG
这一个步骤是避免升级被覆盖,这是官方的解释: It is really important to tell “apt” not to overwrite the file “libglx.so” if you upgrade the system. “libglx.so” is a specific file in NVIDIA’s graphics driver that might get replaced by an incorrect version from Ubuntu that stops you from being able to boot into the graphical environment! So please execute this command on your Jetson before you connect it to Internet or perform an update:
sudo apt-mark hold xserver-xorg-core - 开启USB3.0
Jetson tk1上面的usb3.0的USB口默认是USB2.0,我们需要手动将USB设置成3.0。首先在终端中执行下面的命令:
sudo vi /boot/extlinux/extlinux.conf然后将usb_port_owner_info=0改成usb_port_owner_info=2。然后保存退出(按VI的方式保存退出)。
- HelloJetson编程初体验
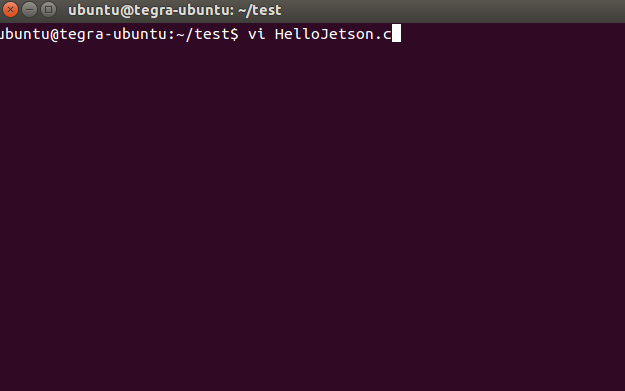
新建HelloJetson.c文件:
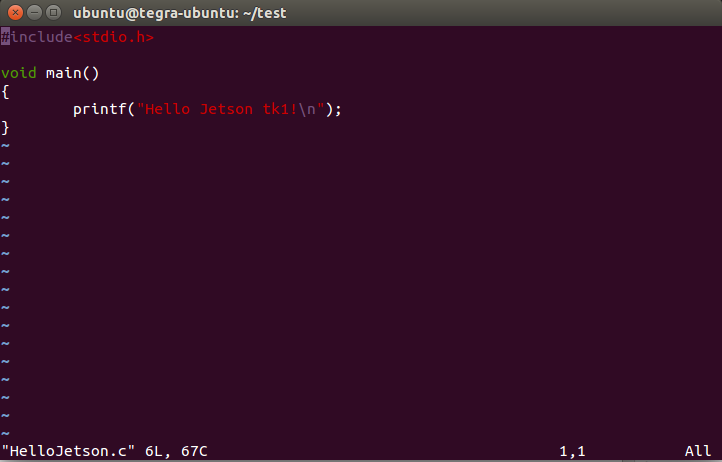
编辑代码:
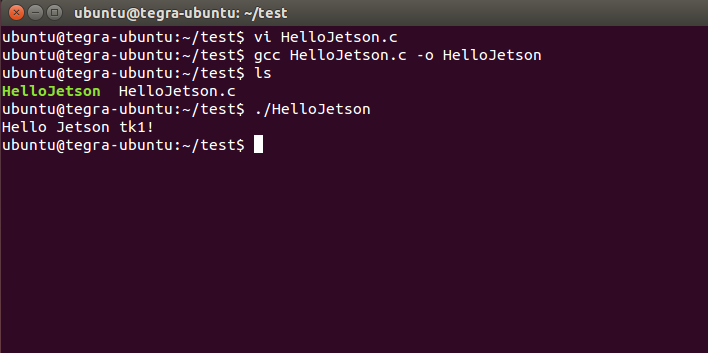
编译运行:
- 安全关机
在关闭jetson tk1的时候通常不会直接按下电源键,一般是使用命令进行关机。(官方说明:Just like any Linux computer, the recommended way to shut-down or turn off Jetson TK1 is to click Shutdown in the GUI or run this in a terminal, to ensure the filesystem will not be corrupt)
sudo shutdown -h now 除特别声明,本站所有文章均为原创,如需转载请以超级链接形式注明出处:SmartCat's Blog
上一篇: 第一篇博客的自我介绍
下一篇: 数据结构课程设计 - 通讯录管理系统
精华推荐